Google OAuth 2.0 access for server side web apps
Google is a popular platform that is commonly used on websites as registration or login option. It allows us to register with our Google account with just a few clicks and skip the process of email validation. It saves us a lot of time and makes the life easier as we don't need to remember all those credentials for different websites anymore.
Prerequisites
Google is one of the most popular options to sign in but it's still an option. There are many alternatives and all of them can work together. We recommend you to read about OAuth 2.0 protocol and how it works. We have a detailed post about it here: understanding OAuth 2.0 and how it works.
You will need a Google developer account to generate a client id anda client secret. If you don't have an account at Google Cloud Platform, create it from here: Google Developers Console.
Configuring Google Cloud Platform
If you just registered your developer account or you don't have an assigned project, create one before continuing.

Credentials
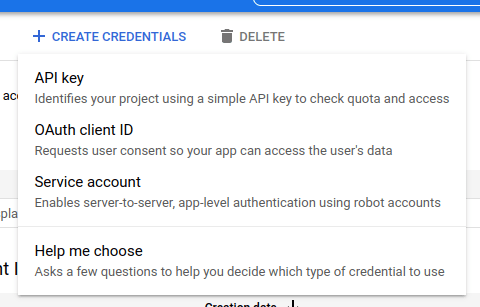
We need to generate a client ID and a client secret for our application. Navigate to credentials section using the menu available on the left:

Create credentials of OAuth client ID type:
There will be a simple form to fill declaring the type of your application, a name and some additional info depending on the application type. Make sure to provide the authorized callback URL that processes responses from Google OAuth. Once the form is submitted Google generates credentials for your application.
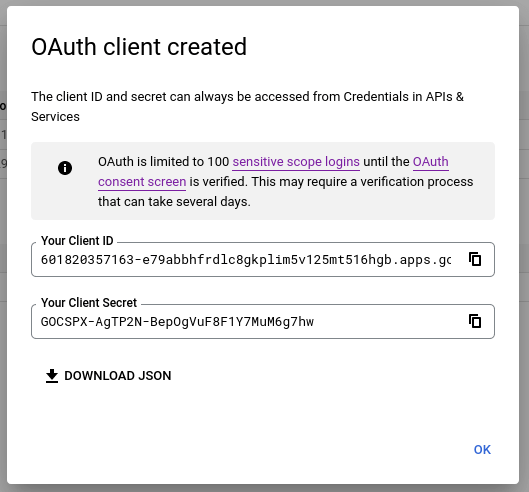
Save them in a secure place and don't share with anyone.
Consent screen
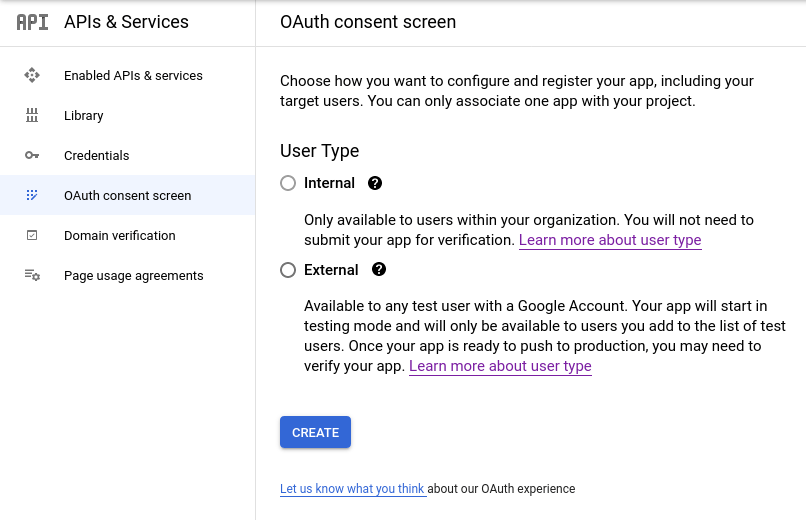
Nice, we already have credentials for our application! Now we must configure the consent screen and sign in interface. Navigate to OAuth consent screen page using the left navigation menu:
Fill the form with necessary information: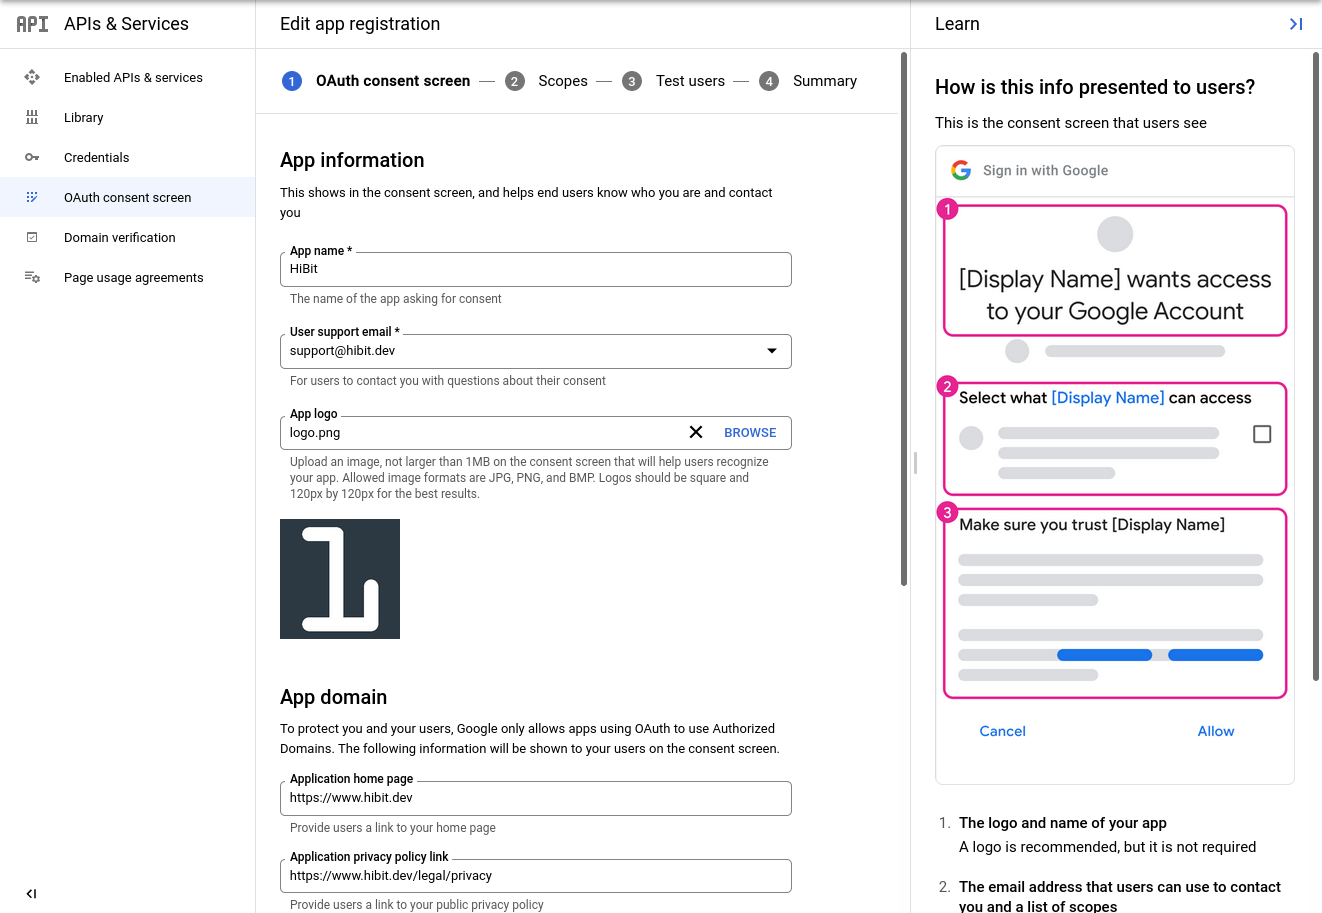
On the second step you need to select authorized scopes. Depending on what scopes you choose and how sensitive are them your account may need some additional verification. For sign in purpose it's enough having publicly available information as shown on the image:
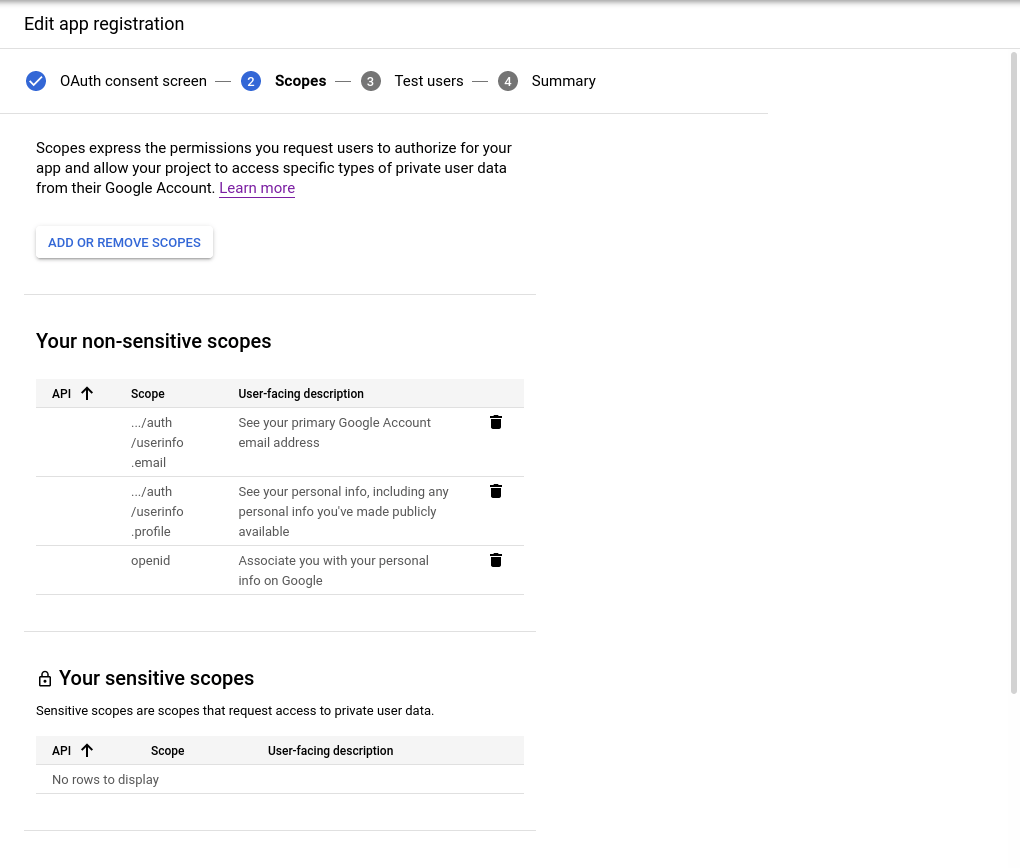
Official Google documentation describes each scope and what it provides to the application.
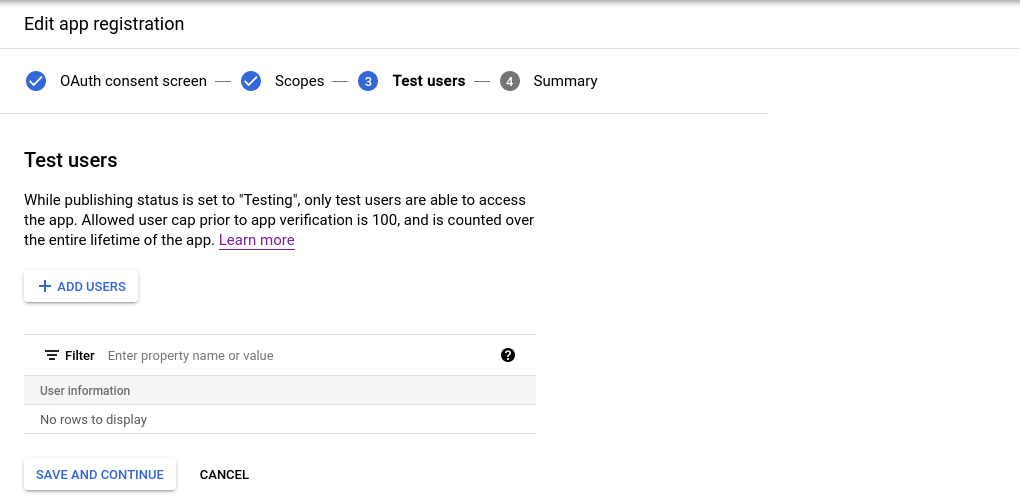
Before publishing your consent screen to production, you would probably want to test your application. You can add a user to the following list to consider it a test user:
Everything worked fine? Click to publish your application and switch from testing to production mode.
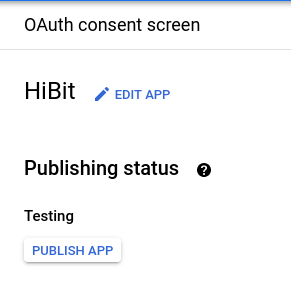
Note: take into consideration that additional verification process may take some days until your request is approved.
Configuring your application
Your application must have that consent before it can execute a Google API request that requires user authorization. The list below quickly summarizes these steps:
Your application identifies the permissions it needs.
Your application redirects the user to Google along with the list of requested permissions.
The user decides whether to grant the permissions to your application.
Your application finds out what the user decided.
If the user granted the requested permissions, your application retrieves tokens needed to make API requests on the user's behalf.
Set authorization parameters
Your first step is to create the authorization request. That request sets parameters that identify your application and define the permissions that the user will be asked to grant to your application.
Google's OAuth 2.0 endpoint is at:
https://accounts.google.com/o/oauth2/v2/auth
This endpoint is accessible only over HTTPS. Plain HTTP connections are refused.
The Google authorization server supports the following query string parameters for web server applications:
Name | Type | Description |
client_id | Required | The client ID for your application. |
redirect_uri | Required | Determines where the API server redirects the user after the user completes the authorization flow. The value must exactly match one of the authorized redirect URIs for the OAuth 2.0 client, which you configured in your client's API Console Credentials page. |
response_type | Required | Determines whether the Google OAuth 2.0 endpoint returns an authorization code. |
scope | Required | A space-delimited list of scopes that identify the resources that your application could access on the user's behalf. These values inform the consent screen that Google displays to the user. |
access_type | Recommended | Indicates whether your application can refresh access tokens when the user is not present at the browser. Valid parameter values are online, which is the default value, and offline. |
state | Recommended | Specifies any string value that your application uses to maintain state between your authorization request and the authorization server's response. The server returns the exact value that you send as a name=value pair in the URL query component (?) of the redirect_uri after the user consents to or denies your application's access request. |
include_granted_scopes | Optional | Enables applications to use incremental authorization to request access to additional scopes in context. |
login_hint | Optional | Set the parameter value to an email address or sub identifier, which is equivalent to the user's Google ID. |
prompt | Optional | A space-delimited, case-sensitive list of prompts to present the user. |
Redirect to Google's OAuth 2.0 server
Redirect the user to Google's OAuth 2.0 server to initiate the authentication and authorization process. Google's OAuth 2.0 server authenticates the user and obtains consent from the user for your application to access the requested scopes. At this stage, Google displays a consent page that shows the name of your application and the Google API services that it is requesting permission to access with the user's authorization credentials.
The user can then consent to grant access to one or more scopes requested by your application or refuse the request. The response is sent back to your application using the redirect URL you specified.
Handle the OAuth 2.0 server response
If the user approves the access request, then the response contains an authorization code. If the user does not approve the request, the response contains an error message. The authorization code or error message that is returned to the web server appears on the query string, as shown below:
An error response:
.../auth?error=access_denied
An authorization code response:
.../auth?code=<code_goes_here>
Exchange authorization code for tokens
After the web server receives the authorization code, it can exchange the authorization code for an access token. To exchange an authorization code for an access token, call the following endpoint:
https://oauth2.googleapis.com/token
and set the following parameters:
Name | Description |
client_id | The client ID obtained from the API Console Credentials page. |
client_secret | The client secret obtained from the API Console Credentials page. |
code | The authorization code returned from the initial request. |
grant_type | As defined in the OAuth 2.0 specification, this field's value must be set to authorization_code. |
redirect_uri | One of the redirect URIs listed for your project in the API Console Credentials page for the given client_id. |
Google responds to this request by returning a JSON object that contains a short-lived access token and a refresh token.
Name | Description |
access_token | The token that your application sends to authorize a Google API request. |
expires_in | The remaining lifetime of the access token in seconds. |
refresh_token | A token that you can use to obtain a new access token. Refresh tokens are valid until the user revokes access. Again, this field is only present in this response if you set the access_type parameter to offline in the initial request to Google's authorization server. |
scope | The scopes of access granted by the access_token expressed as a list of space-delimited, case-sensitive strings. |
token_type | The type of token returned. At this time, this field's value is always set to Bearer. |
Calling Google APIs
After your application obtains an access token, you can use the token to make calls to a Google API on behalf of a given user account if the scope(s) of access required by the API have been granted. To do this, include the access token in a request to the API by including either an access_token query parameter or an Authorization HTTP header Bearer value.
You can try out all the Google APIs and view their scopes at the OAuth 2.0 Playground.
Conclusion
We've learned how the complete OAuth 2.0 flow works with Google. Actually, some repetitive processes can be simplified and the access to Google APIs can be done using one of the available libraries, depending on the programming language. You can find additionally information about official libraries for Google APIs here.

0 Comments