wiring


Using touch sensor with Arduino


  • avatar
  • 5.6K Views
  • 4 mins read
Preview image

Touch sensor (also known as touch button) is widely used to control devices. It detects touch, force or pressure on its surface changing the logic state of the circuit. Actually, it works in very similar way as to buttons. Checkout the wiring and Arduino code implementation to track the current state and the state changes.

Pressure and temperature measurement with GY-65

  • avatar
  • 5.4K Views
  • 1 Like
  • 5 mins read
Preview image

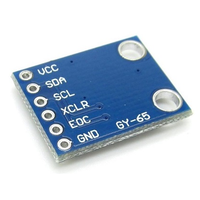
Precision monitoring of atmospheric conditions becomes a reality with the GY-65 module based on BMP085 sensor. Armed with the ability to measure temperature, pressure, and altitude, the GY-65 module opens up a world of possibilities for weather stations, altitude tracking devices, and other projects requiring accurate environmental data. In this article, we delve into the capabilities of the module, examining its features, connectivity with Arduino.

How to use an analog module with Arduino

  • avatar
  • 5.8K Views
  • 1 Like
  • 4 mins read
Preview image

The KY-023 is an easy-to-use analog joystick. The joystick uses a biaxial potentiometer to control the X and Y axis. It also has an integrated push button. In this tutorial, it is shown how to connect the KY-023 joystick with the Arduino and how to use it.

 Join Our Monthly Newsletter

Get the latest news and popular articles to your inbox every month

We never send SPAM nor unsolicited emails

Using push buttons with Arduino

  • avatar
  • 5.6K Views
  • 2 Likes
  • 4 mins read
Preview image

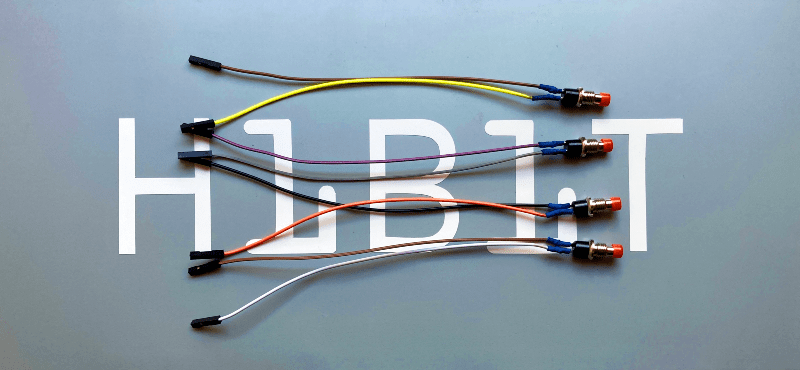
Today we are going to speak about push buttons, the wiring and how to implement the code for this circuit elements in Arduino. Push buttons connect two points in a circuit when you press them. That means that logic state of the circuit change when you press and keep pressed the button.

How to use tricolor LED module with Arduino

  • avatar
  • 5.4K Views
  • 3 Likes
  • 4 mins read
Preview image

The KY-016 is capable of producing wide range of different colors by mixing blue, green and red lights. The RGB LED module will not require any limiting resistors. Those resistors are already integrated in the circuit, and so 5V can be directly used as power input.

Play Home Alone song with a piezo buzzer and Arduino

  • avatar
  • 5.0K Views
  • 3 Likes
  • 7 mins read
Preview image

Home Alone has since been considered one of the best Christmas films and Somewhere in My Memory has been nominated as best original song. We wanted to recreate the melody of the film's theme song with a piezo buzzer and share with you. Buzzer is used to generate sound, beep or even melody of a song. It can be found in alarm devices, computers, timers and confirmation of user input such as a mouse click or keystroke.

Wi-Fi Integration with ESP8266 module

  • avatar
  • 4.5K Views
  • 11 mins read
Preview image

The ESP8266 has become an essential component in electronics, offering an affordable and compact means to integrate Wi-Fi connectivity into various projects. This tiny module has attracted a broad spectrum of users all aiming to implement smart home systems, IoT devices, and remote monitoring solutions. With its compact size, low power consumption, and seamless integration with Wi-Fi networks, the ESP8266 empowers innovators to create groundbreaking solutions in the digital age. The ESP8266 offers a user-friendly platform to bring your ideas to life. In this article, we will examine a particular variant of ESP8266 modules, specifically the ESP-01.

Practical guide to ESP8266 for UDP servers and clients

Available to registered members only
  • avatar
  • 4.2K Views
  • 2 Likes
  • 15 mins read
Preview image

The ESP8266 module has become a favorite among electronics enthusiasts for its low cost and powerful capabilities. This Wi-Fi module can be used in various ways, making it a versatile tool for many IoT applications. In this guide, we will explore how the ESP8266 can function as both a server and a client using UDP protocol.

ESP8266 Firmware update

Available to Premium members only
  • avatar
  • 4.2K Views
  • 12 mins read
Preview image

The ESP8266 is a popular Wi-Fi module used in many IoT projects. Keeping its firmware up-to-date ensures you have the latest features, security patches, and bug fixes. Updating the firmware might seem difficult, but it's quite straightforward once you understand the steps involved. In this article, we'll explore how to update the firmware of the ESP8266 module, a crucial task for maintaining optimal performance and security. This update process can be carried out either locally, using a USB connection, or remotely via cloud. We'll examine both methods to provide a comprehensive understanding of how to keep your ESP8266 up-to-date with the latest firmware version.

Using a motion sensor with Arduino

  • avatar
  • 4.0K Views
  • 7 mins read
Preview image

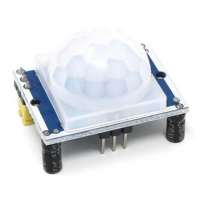
Motion sensors are essential in modern automation projects, playing a key role in security systems, smart lighting, and interactive devices. These sensors detect movement and trigger specific actions, making them useful for various applications. When paired with an Arduino, a motion sensor can be programmed to respond intelligently, creating an efficient and responsive system. This guide explains how motion sensors work, how to connect them to an Arduino, and how to write the code needed to make them function properly.