How to install MySQL 8.0 server on Ubuntu
MySQL is an open-source relational database management system (RDBMS). Its name is a combination of My and SQL the abbreviation for Structured Query Language. A relational database organizes data into one or more data tables in which data types may be related to each other; these relations help structure the data. SQL is a language programmers use to create, modify and extract data from the relational database, as well as control user access to the database.
Installing MySQL server
MySQL is available and can be installed using the apt packaging system:
sudo apt-get update && sudo apt-get install mysql-server
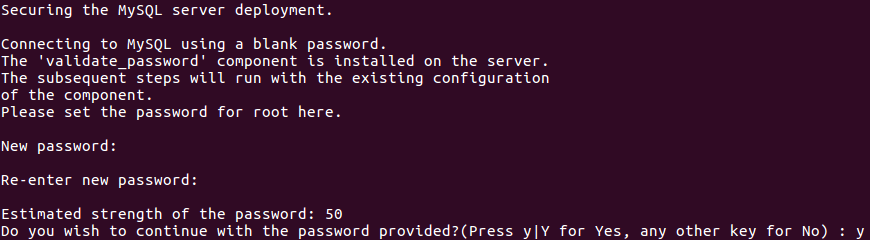
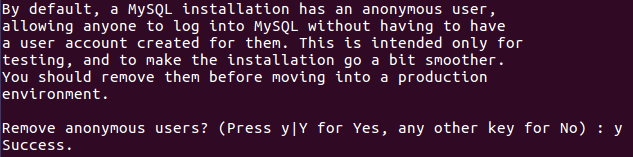
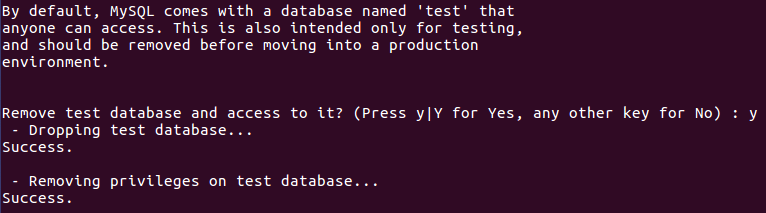
This will download and install MySQL server but leaves it insecure. To run the wizard and adjust security, execute the following command:
sudo mysql_secure_installation
It will prompt you some security options that you should answer: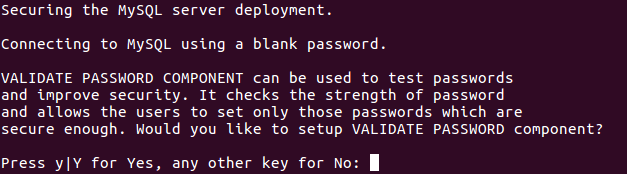


Checking MySQL server
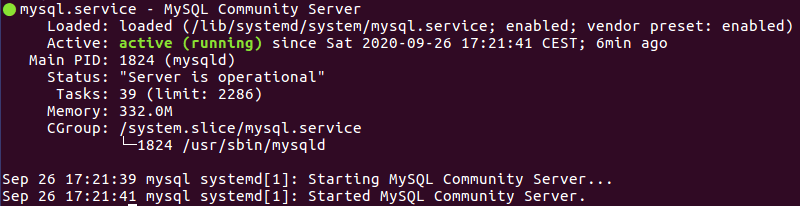
Usually, MySQL service is automatically started once the package is configured. To check whether the MySQL server is up and running or not, use this command:
sudo systemctl status mysql.service
It will output the current server status:
If MySQL server does not automatically start, you can use the following command to start it:
sudo systemctl start mysql
And start it automatically at system startup:
sudo systemctl enable mysql
Connect to MySQL server
To launch the first SQL queries we must connect with the created user (in our case root):
sudo mysql -u root -p
It will prompt for the password of the root account:
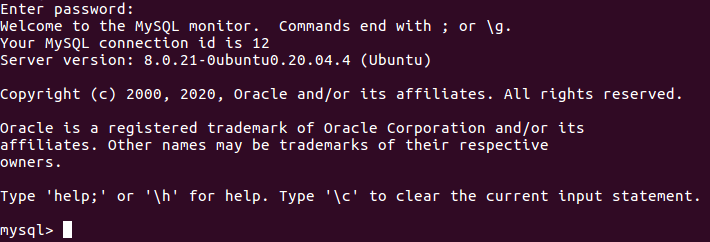
Now you can run your MySQL queries.
Creating MySQL users (optional)
Previously we used root user to login and run queries. Everything works fine but... it can be insecure.
This user has full privileges over the MySQL server and can insert, update, delete, alter, flush... whole database. Because of this, it's recommended to use a different user for non-administrative tasks.
With successful MySQL connection with root user and inside the server, we can create a new user with the following command:
CREATE USER 'user'@'localhost' IDENTIFIED BY 'password';
Replace the user and password fields with desired values. In our example we will use:
user: mysql_user
pass: hsy7yD5KS9FuQrk!
![]()
After creating new user, appropriate privileges must be granted. The general syntax for granting user privileges is as follows:
GRANT PRIVILEGE ON database.table TO 'user'@'host';
The PRIVILEGE value defines what actions the user is allowed to perform (one or several comma separated) on the specified database and table. You can grant a user privileges globally by entering asterisks (*) instead of the database and table names. Privileges will be granted to the user for the choosen host (it can be localhost, remote IP address or percent (%) for any host).
In our example, we want to grant all privileges on all databases and tables (not recommended in real applications):
GRANT ALL PRIVILEGES ON * . * TO 'mysql_user'@'localhost';
![]()
Finally, apply the changes and clear cache:
FLUSH PRIVILEGES;
![]()
Your MySQL server is now up and running.


0 Comments