Allow remote access to MySQL server
Many applications start their web server and database hosted on the same machine. It's simpler, cheaper and easier to manage. However, as our application grows , a setup like this can bring security issues and scalability problems. A common solution is to separate our database from the application: creating a dedicated database server and allowing applications to connect remotely. This setup is more secure, it can provide you a better analysis of the bottlenecks and definitely makes the scalability easier.
There is a common problem with MySQL default configuration as it's only listening to local host and does not allow remote connections. We need to change the configuration in order to enable external connections to access our database.
Prerequisites
You will need a running MySQL server. If you don't have one check our tutorial on how to install MySQL server.
Allowing external connections
If we have an application that needs to establish a connection with our external MySQL server, we need to change some configuration lines (with nano or any other editor) on the MySQL server:
sudo nano /etc/mysql/mysql.conf.d/mysqld.cnf
Navigate to the line that begins with the bind-address directive or add it if missing:

By default, this value is set to 127.0.0.1, meaning that the server will only look for local connections. You will need to update this directive with an external IP address. For the purposes of troubleshooting, you can set this directive to one of the wildcard IP addresses:
*
::
0.0.0.0

Save the configuration file and restart MySQL server to apply the changes:
sudo systemctl restart mysql
Creating MySQL user
First of all, you need to access to the MySQL shell to create and/or edit a user:
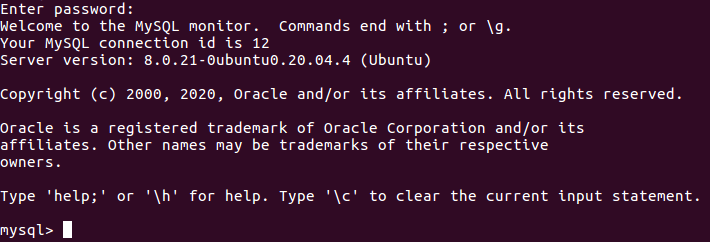
sudo mysql -u root -p
It will prompt for the password of the root account:
If you followed our previous tutorial or you already have a created MySQL user, you will need to change the host configuration. To change existing user’s host, run the following command:
RENAME USER 'user'@'localhost' TO 'user'@'host';
If you don't have a user or you want to create a new one, run the following command:
CREATE USER 'user'@'host' IDENTIFIED BY 'password';
Replace the user, host (remote IP address or percent (%) for any host) and password fields with desired values.
After creating new user or editing the existing one, appropriate privileges must be granted. The general syntax for granting user privileges is as follows:
GRANT PRIVILEGE ON database.table TO 'user'@'host';
You can find more details about it in our previous tutorial on how to install MySQL server.
Let's grant SELECT, INSERT, UPDATE and DELETE privileges on all (*) databases and tables to the user at host:
GRANT SELECT,INSERT,UPDATE,DELETE ON *.* TO 'user'@'host';
Finally, apply the changes and clear cache:
FLUSH PRIVILEGES;
![]()
Testing MySQL connection
Make sure the configuration is working and the connections can be established running the following command on your application server:
mysql -u user -h host -p
Replace the user field with the username you've created before and the host field with the MySQL server IP address.


0 Comments