GitHub OAuth2.0 access for web application
GitHub is one of the most popular platforms for developers. Millions of developers and companies build, ship, and maintain their software on GitHub. Their platform allows third party websites to use GitHub as registration or login option with just a few clicks. That is the social login and it allows customers to bring their existing social identities and use them to register and log in without creating a new account explicitly. It saves a lot of time for users and makes the life easier as we don't need to remember all those credentials for different websites anymore.
Prerequisites
GitHub can be very popular sign in option but it's still an option. There are many alternatives and all of them can work together. We recommend you to read about OAuth 2.0 protocol and how it works. We have a detailed post about it here: understanding OAuth 2.0 and how it works.
You will need a GitHub account to generate a client id and a client secret. If you don't have an account, create one from here: GitHub SignUp.
Configuring GitHub APP
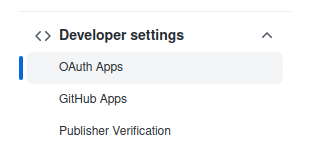
Navigate to your profile settings. On the left side, in Developer settings section, you will find OAuth Apps option to register your applications:
If you don't have any, you will see the following screen with an option to register it: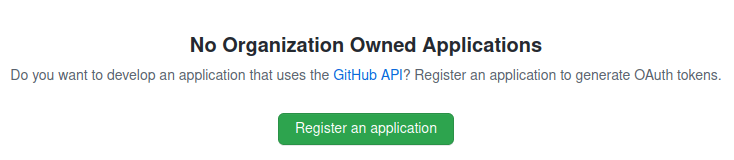
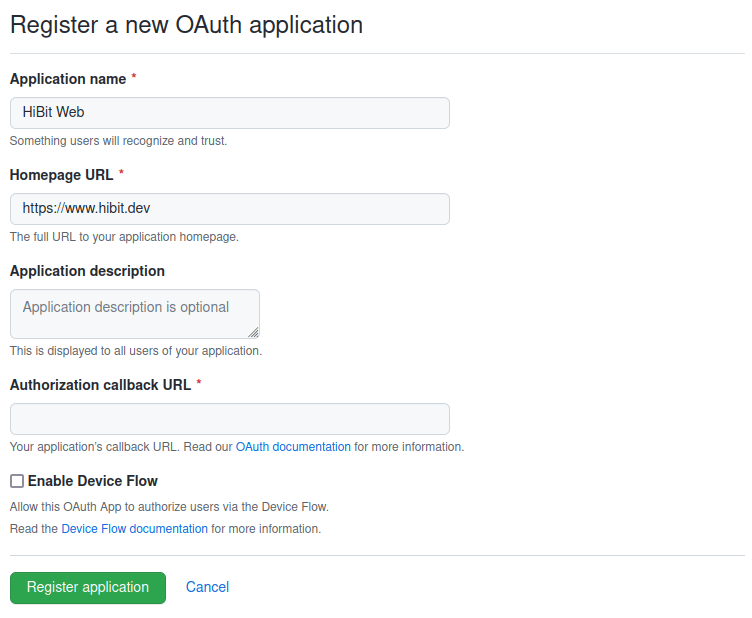
There will be a simple form to fill asking some basic data about your application.
Credentials
You will be asked to provide some information about your app and authorization callback URL. This URL will be used by GitHub to send back the authorization data to your application.
Once registered with basic information you will have assigned a client ID. You must manually generate a Client Secret using the button available in your application settings view. Copy and save it in a secure place as you won’t be able to see it again.
Note: on the same screen, you have an option to upload a logo for your application.
Configuring your application
The web application flow to authorize users for your app is:
Users are redirected to request their GitHub identity
Users are redirected back to your site by GitHub
Your app accesses the API with the user's access token
Request a user's GitHub identity
Your first step is to create the authorization request. That request sets parameters that identify your application and define the permissions that the user will be asked to grant to your application.
GitHub's OAuth 2.0 endpoint is at:
https://github.com/login/oauth/authorize
When your GitHub App specifies a login parameter, it prompts users with a specific account they can use for signing in and authorizing your app.
Name | Type | Description |
client_id | Required | The client ID you received from GitHub when you registered your application. |
login | Optional | Suggests a specific account to use for signing in and authorizing the app. |
scope | Optional | A space-delimited list of scopes. If not provided, scope defaults to an empty list for users that have not authorized any scopes for the application. For users who have authorized scopes for the application, the user won't be shown the OAuth authorization page with the list of scopes. Instead, this step of the flow will automatically complete with the set of scopes the user has authorized for the application. |
state | Optional | An unguessable random string. It is used to protect against cross-site request forgery attacks. |
allow_signup | Optional | Whether or not unauthenticated users will be offered an option to sign up for GitHub during the OAuth flow. The default is true. Use false when a policy prohibits signups. |
Users are redirected back to your site by GitHub
If the user accepts your request, GitHub redirects back to your site with a temporary code in a code parameter as well as the state you provided in the previous step in a state parameter. The temporary code will expire after 10 minutes.
Exchange this code for an access token making a POST request to the URL below:
https://github.com/login/oauth/access_token
and set the following parameters:
Name | Type | Description |
client_id | Required | The client ID you received from GitHub for your OAuth App. |
client_secret | Required | The client secret you received from GitHub for your OAuth App. |
code | Required | The code you received as a response from the initial request. |
redirect_uri | Optional | The URL in your application where users are sent after authorization. If the application specifies a localhost URL and a port, then after authorizing the application users will be redirected to the provided URL and port. |
By default, the response takes the following form:
Name | Description |
access_token | The token that your application sends to authorize a GitHub API request. |
scope | The scopes of access granted by the access_token expressed as a list of space-delimited, case-sensitive strings. |
token_type | The type of token returned. At this time, this field's value is always set to Bearer. |
Response may be provided in different formats depending on Accept header. For example:
Accept: application/json
or
Accept: application/xml
Use the access token to access the API
The access token allows you to make requests to the API on a behalf of a user. Use the following endpoint:
https://api.github.com/user
providing the access token generated in the previous step in the Authorization header:
Authorization: token access_token
Depending on the selected scope you will have more or less information about the user.
Conclusion
We've described and learned how the complete OAuth 2.0 flow works with GitHub. It's easy and quite forward. You can have your application within minutes and test GitHub responses by yourself.


0 Comments