Using switch buttons with Arduino
Let's speak now about switch buttons, the wiring and how to implement the code for this circuit elements in Arduino. Switch buttons connect two points in a circuit when you press them and maintain the state without the need to keep the button pressed. That means that logic state of the circuit change every time you press the button.
Components
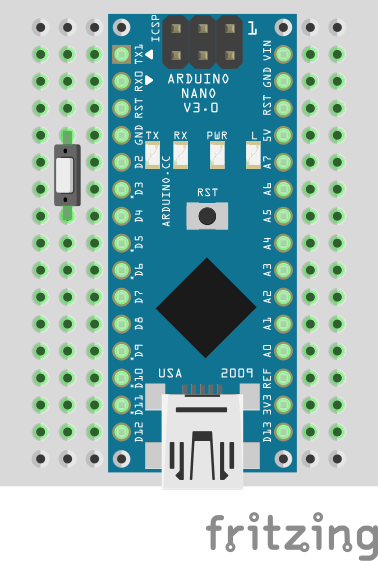
| 1x Arduino Nano (or another Arduino module) $3.39 |
| 1x Mini-breadboard
|
| 1x Switch button $3.34 |
| Dupont wires
|


Wiring schema
This example demonstrates the use of a button with Arduino Nano using internal pull-up resistor. That means that we will have a default HIGH value and LOW value when the switch is turned ON.
Note: the button pin can be connected to Arduino Nano D4 or any other digital input pin.
Arduino code
We've defined a struct (called toggle) to represent the state of the switch. The serial monitor will output that state in real time.
#define TOGGLE_PIN 4

struct toggle {
  byte on = 0;
};

toggle toggle;

void setup()
{
  pinMode(TOGGLE_PIN, INPUT_PULLUP);

  Serial.begin(115200);
}

void loop()
{
  toggle.on = isToggleOn(TOGGLE_PIN);

  if (toggle.on) {
    Serial.println("Toggle ON");
  } else {
    Serial.println("Toggle OFF");
  }
}

bool isToggleOn(int pin)
{
  return digitalRead(pin) == 0;
}
Note: we use toggle to define the button because switch is reserved word and may cause conflicts.
Credits
Official GitHub: https://github.com/hibit-dev/buttons


0 Comments