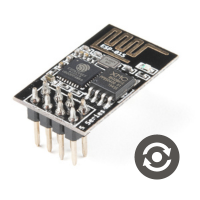
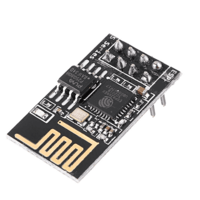
Wi-Fi Integration made easy with ESP8266WiFi library
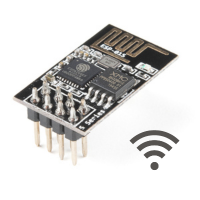
The ESP8266 is a low-cost Wi-Fi microchip with full TCP/IP stack and microcontroller capability, created by Espressif Systems. It's popular among hobbyists and developers for its affordability and ease of use, making it a go-to choice for various IoT projects. When paired with the ESP8266WiFi library, this tiny module becomes even more powerful, simplifying the process of connecting devices to Wi-Fi networks and enabling a multitude of creative applications.