Pressure and temperature measurement with GY-65
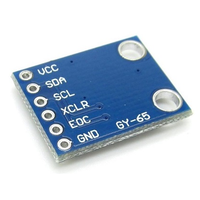
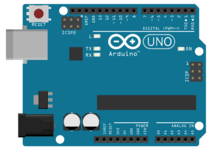
Precision monitoring of atmospheric conditions becomes a reality with the GY-65 module based on BMP085 sensor. Armed with the ability to measure temperature, pressure, and altitude, the GY-65 module opens up a world of possibilities for weather stations, altitude tracking devices, and other projects requiring accurate environmental data. In this article, we delve into the capabilities of the module, examining its features, connectivity with Arduino.