DIY - Universal RC Joystick: concept
Controlling devices over a distance opens lots of possibilities. Our Arduino roadmap contains many projects that must be controlled remotely and sometimes on a long-distance. Of course, it can be done with a PC but our experience has shown that it becomes complicated when you need long way, portable and rapid communications. Our solution was designing a multi-functional remote controller, we have called it AirControl.
AriControl project
DIY - Universal RC Joystick: concept
DIY - Universal RC Joystick: controls
DIY - Universal RC Joystick: mounting
DIY - Universal RC Joystick: code
DIY - Universal RC Joystick: receiver
Forepart
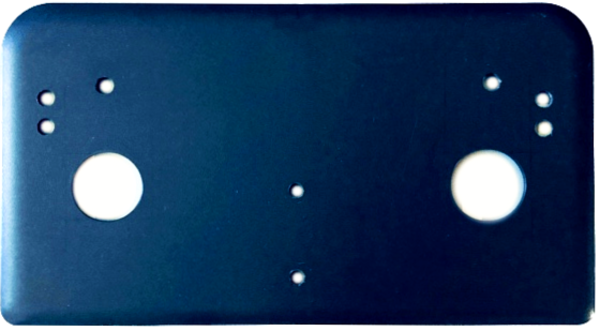
For the forepart of the joystick we've used the following plastic. It perfectly fits, by size and shape, to the needs of our remote controller. This part will contain the set of necessary controls, i.e., buttons, potentiometers, switches and analog joysticks Therefore, we've perforated the openings for that elements to pass through, according to their dimensions, in the positions we wanted to place them.
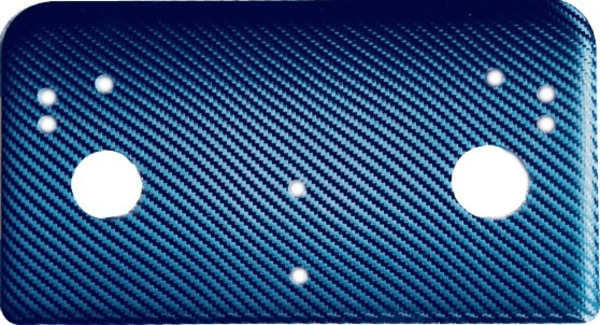
For a better presentation we've wrapped it with carbon vinyl.
Backside
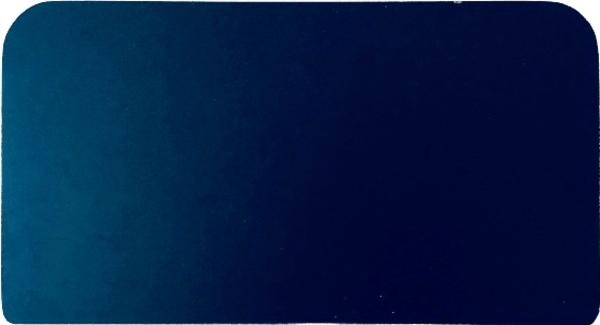
For the backside 4mm black acrylic is used. It was cut from a bigger piece to make sure it has the same shape as the forepart. This will be the base of our joystick and it will assemble the head controller, communication elements, power supply and adapters/regulators.
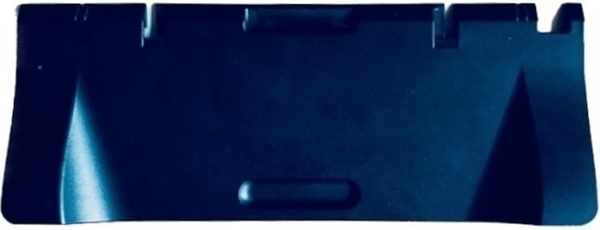
To better fit in hands and make it more comfortable, the following component is attached to the backside.
Power supply
It's recommended to have a dedicated power supply for each joystick element. We've decided to go forward with 9V battery located within 9V battery holder (as shown on the image below). It will be located on the backside of the joystick, on top of the supporting element. As everything in the joystick circuit will use 5V we need a voltage regulator to convert that 9V to 5V.
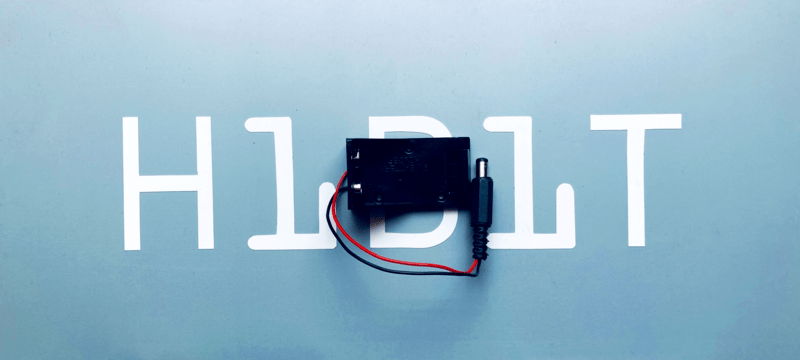
The final version of battery holder has a slight modification. Jack connector is replaced with dupont connectors so we can easily use them with a breadboard or a pinned module.
Conclusion
One of our main goals is having a single point of control to manage different devices with just some small adjustments at the receiver side. In the following posts, we will share details about control elements, mounting process and the code used to run AirControl.


0 Comments