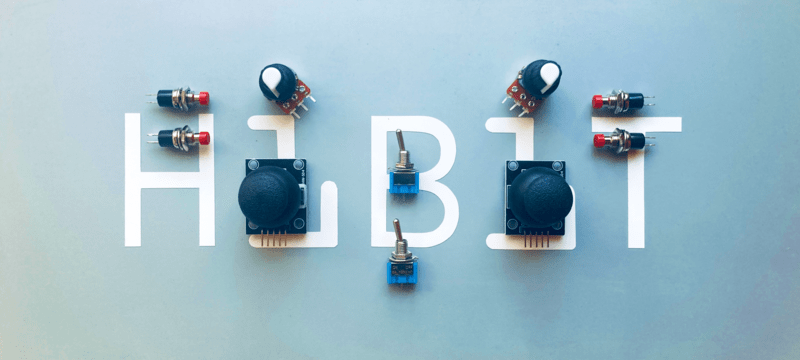
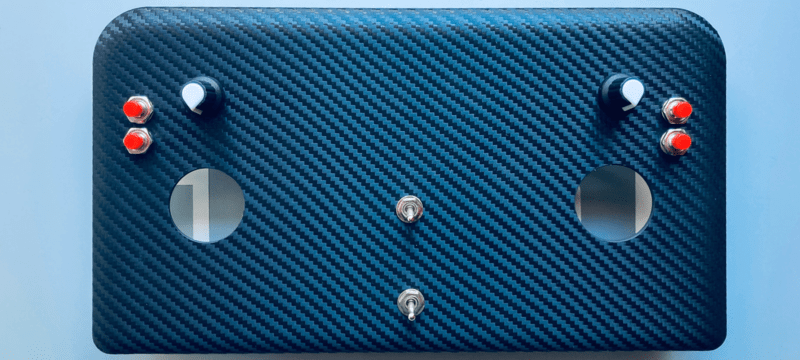
DIY - Universal RC Joystick

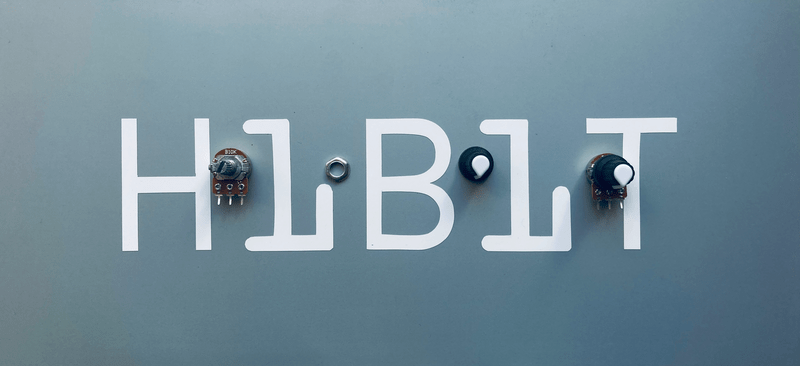
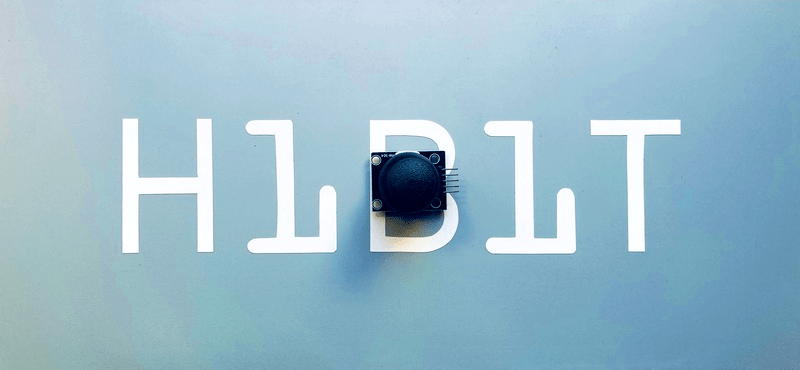
Controlling devices over a distance opens lots of possibilities. Our Arduino roadmap contains many projects that must be controlled remotely and sometimes on a long-distance. Of course, it can be done with a PC but our experience has shown that it becomes complicated when you need long way, portable and rapid communications. Our solution was designing a multi-functional remote controller, we have called it AirControl. Aware of the needs it will have 4 push buttons, 2 switch buttons, 2 potentiometers and two analog modules. Additionally, each analog joystick module has integrated push button.