transmitter


How to use the NRF24L01 module with Arduino

  • avatar
Preview post image

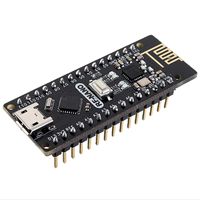
Having two or more Arduino boards be able to communicate with each other wirelessly over a distance opens lots of possibilities like remotely monitoring sensor data, controlling robots, home automation and the list goes on. A good, reliable and inexpensive solution is NRF24L01.

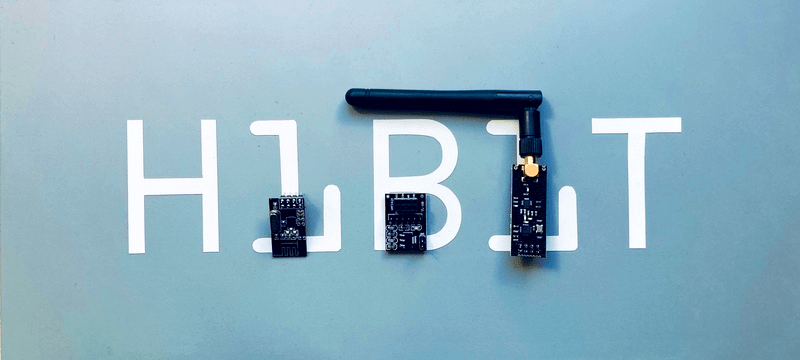
The NRF24L01+ is a newer version of the NRF24L01, capable of doing an extra 250kbps of on-air data rate while the one without “+” has only 1Mbps and 2Mbps. Both versions can be mixed together as long as 1 or 2 MBps is being used as the data rate.

Communication protocols: UART, I2C and SPI

  • avatar
  • 2.6K Views
  • 4 Likes
  • 9 mins read
Preview post image

Digital communication between devices is an essential part of modern technology. There are several protocols available for this purpose, each with their own strengths and weaknesses. Three of the most commonly used protocols are UART, I2C, and SPI. In this article, we will examine these three protocols, their advantages and disadvantages, and how they compare to each other.

DIY - Universal RC Joystick

  • avatar
  • 1.1K Views
  • 7 Likes
  • 23 mins read
Preview post image

Controlling devices over a distance opens lots of possibilities. Our Arduino roadmap contains many projects that must be controlled remotely and sometimes on a long-distance. Of course, it can be done with a PC but our experience has shown that it becomes complicated when you need long way, portable and rapid communications. Our solution was designing a multi-functional remote controller, we have called it AirControl. Aware of the needs it will have 4 push buttons, 2 switch buttons, 2 potentiometers and two analog modules. Additionally, each analog joystick module has integrated push button.

 Join Our Monthly Newsletter

Get the latest news and popular articles to your inbox every month

We never send SPAM nor unsolicited emails

DIY - Universal RC Joystick: receiver

  • avatar
  • 1.0K Views
  • 1 Like
  • 10 mins read
Preview post image

Wireless communication implies having a transmitter, in our case the joystick, and a receiver. We must build a simple circuit with NRF24L01 wiring that will act as listener for our joystick. The NRF24L01 module strictly needs 3.3V but the logic pins are 5V tolerant. That why we recommend to use the NRF24L01 adapter which acts as regulator, keep the voltage stable, apply filtering and reduce noises.

DIY - Universal RC Joystick: controls

  • avatar
  • 948 Views
  • 2 Likes
  • 3 mins read
Preview post image

Based on the solution of designing multi-functional remote controller and being aware of the needs we started building the joystick. It will have 4 push buttons, 2 switch buttons, 2 potentiometers and two analog modules. And, additional 2 push buttons integrated on the analog joystick module.

DIY - Universal RC Joystick: code

  • avatar
  • 786 Views
  • 2 Likes
  • 10 mins read
Preview post image

The physical part of the controller is finished but what about the brain? Once more, our decision falls on Arduino Nano. It perfectly fits by size providing all the necessary functionality. For programming a Nano board we need a USB to serial interface which can be hooked up to the programing header located on the top side of our controller.

DIY - Universal RC Joystick: concept

  • avatar
  • 694 Views
  • 2 Likes
  • 4 mins read
Preview post image

Controlling devices over a distance opens lots of possibilities. Our Arduino roadmap contains many projects that must be controlled remotely and sometimes on a long-distance. Of course, it can be done with a PC but our experience has shown that it becomes complicated when you need long way, portable and rapid communications. Our solution was designing a multi-functional remote controller, we have called it AirControl.

DIY - Universal RC Joystick: mounting

  • avatar
  • 669 Views
  • 2 Likes
  • 6 mins read
Preview post image

Based on the solution of designing multi-functional remote controller and being aware of the needs we started building the joystick. The cover with controls is ready for use but we miss the most important part: the microcontroller. Once more, our decision falls on Arduino Nano. It perfectly fits by size providing all the necessary functionality.

Hey visitor! Unlock access to featured articles, remove ads and much more - it's free.